|
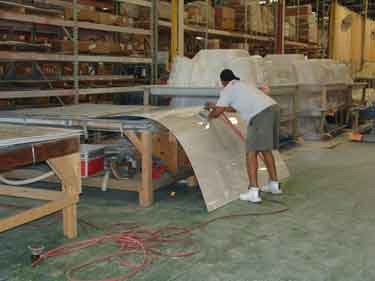 |
First the piece of acrylic is roughly cut to the
overall size of the spa.
|
|
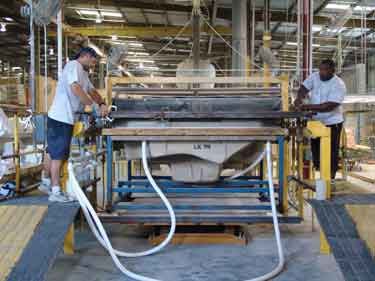
Then the piece of acrylic is put
on top of the spa mold. It is then heated up from above
and actually sucked into the mold. This forms the acrylic
into the shape of the spa. |
 |
|
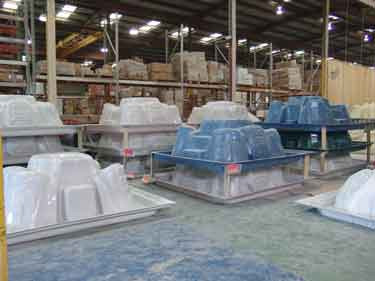 |
Here you can see a number of spa shells stacked
up after being formed into their proper shapes. |
|
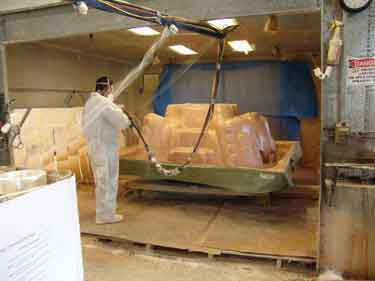
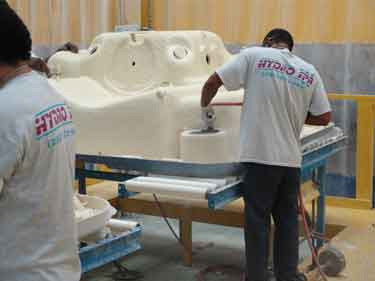
Next the spa shell has to be
sprayed with fiberglass for strength and then insulation to keep
the heat in.
|
 |
|
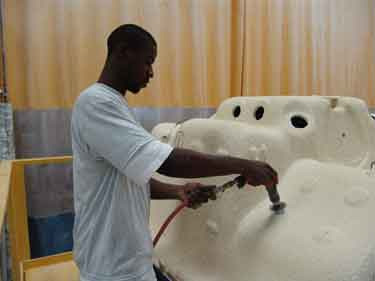 |
After it dries, the shell then must have all the
holes drilled into it. The holes will accept the jets,
drain, skimmer and other fittings. |
|
Here you can see the hole for the skimmer
being cut out. |
 |
|
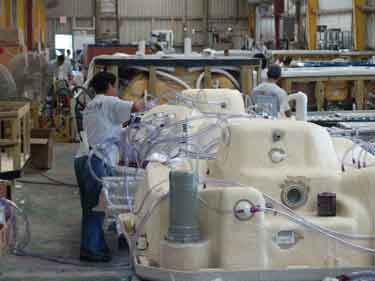 |
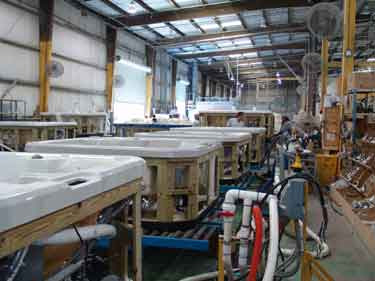
The next step is the actual plumbing. All
the fittings are attached and then the plumbing pipes are run. |
|
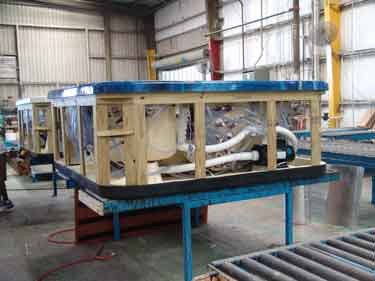
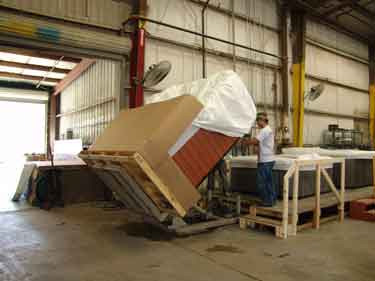
The plumbed spa shell is then tipped over
and the side structural supports and flooring are added. The spa
equipment pack is installed and hooked up to the plumbing. The spa is
starting to take shape!
|
 |
|
 |
Next the spa is hooked up to water and actually
run overnight to make sure that it works 100% and that there are
no leaks in any of the plumbing connections. This is a
very important step! |
|
After the spa passes the water testing,
the cabinet is put on and it is wrapped and made ready to be safely
transported. |
 |
|
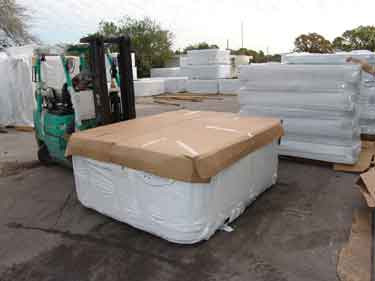 |
Here you can see the completed,
wrapped spa. |
|
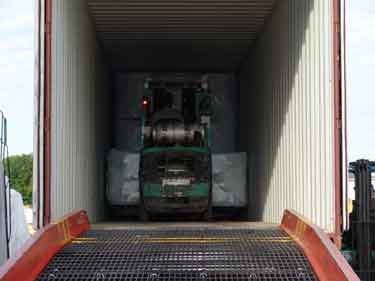
The spa is then fork lifted into the
truck, ready to be sent to the local spa dealer.
|
 |
|
 |
The spa is then delivered to the home owner,
ready to be enjoyed for years to come! |